-40%
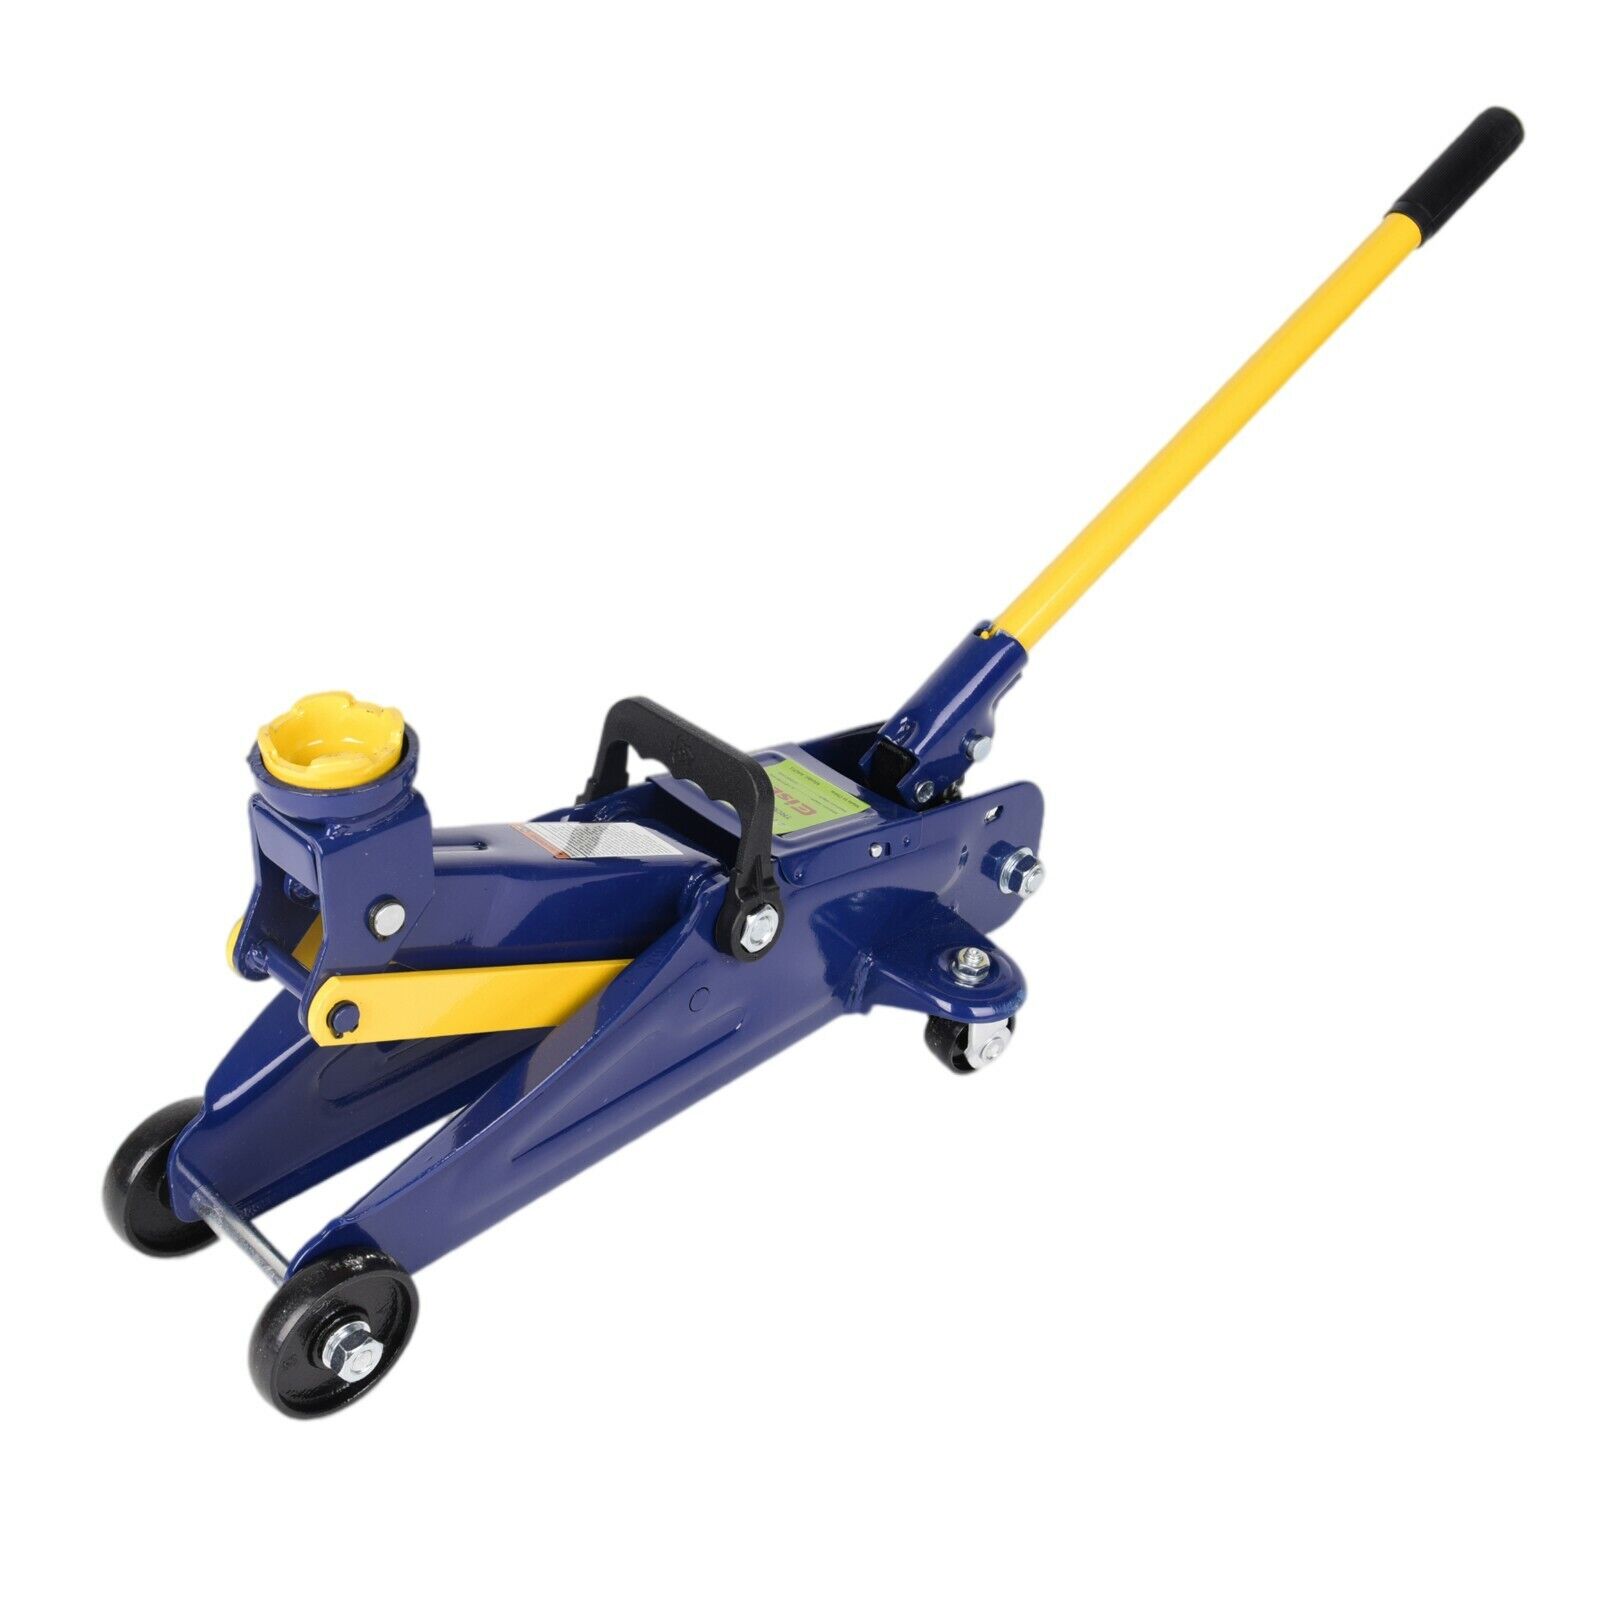
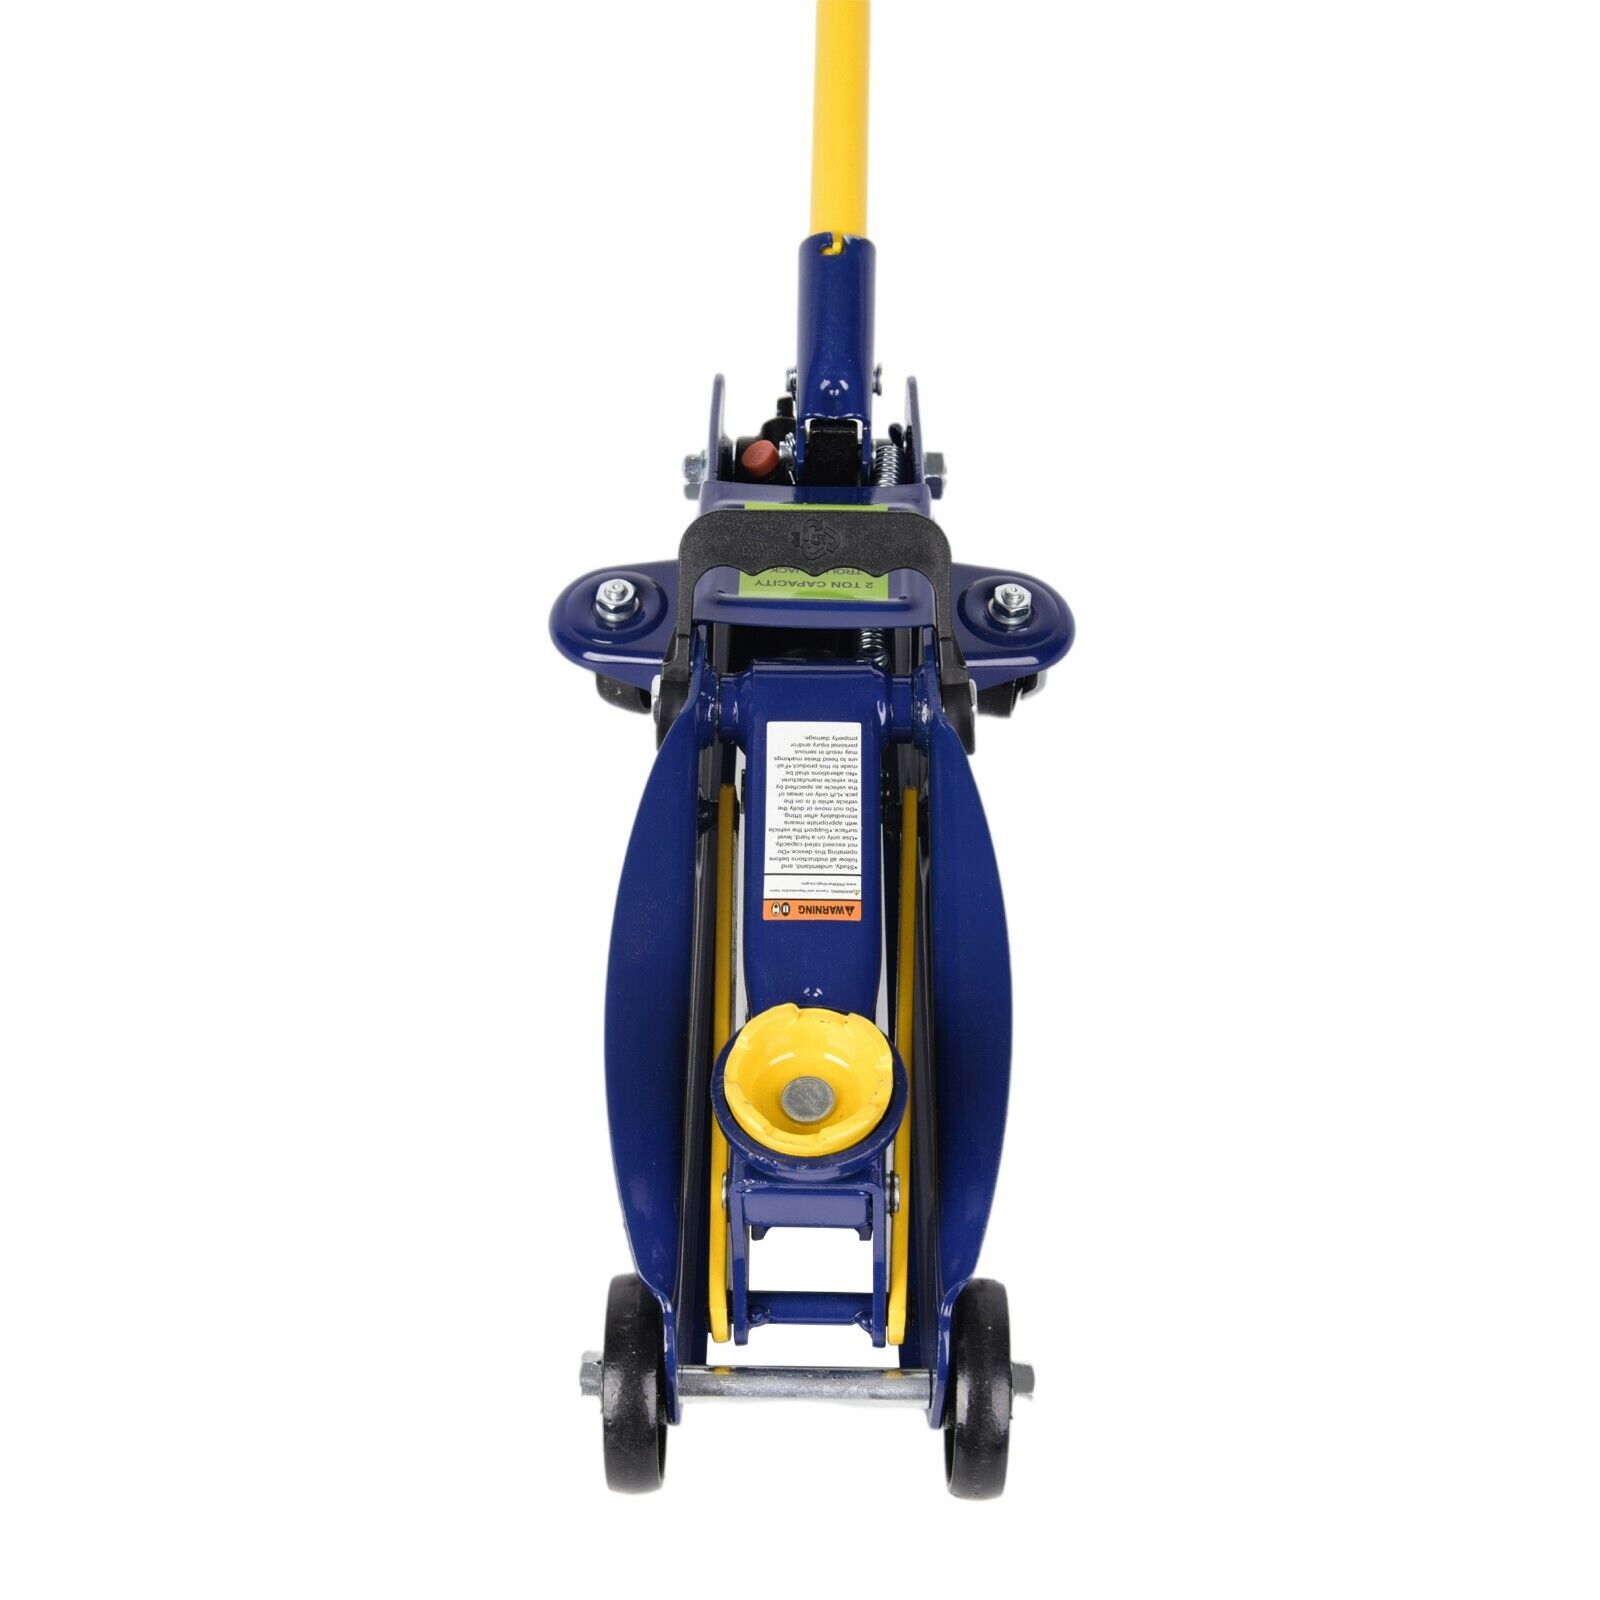
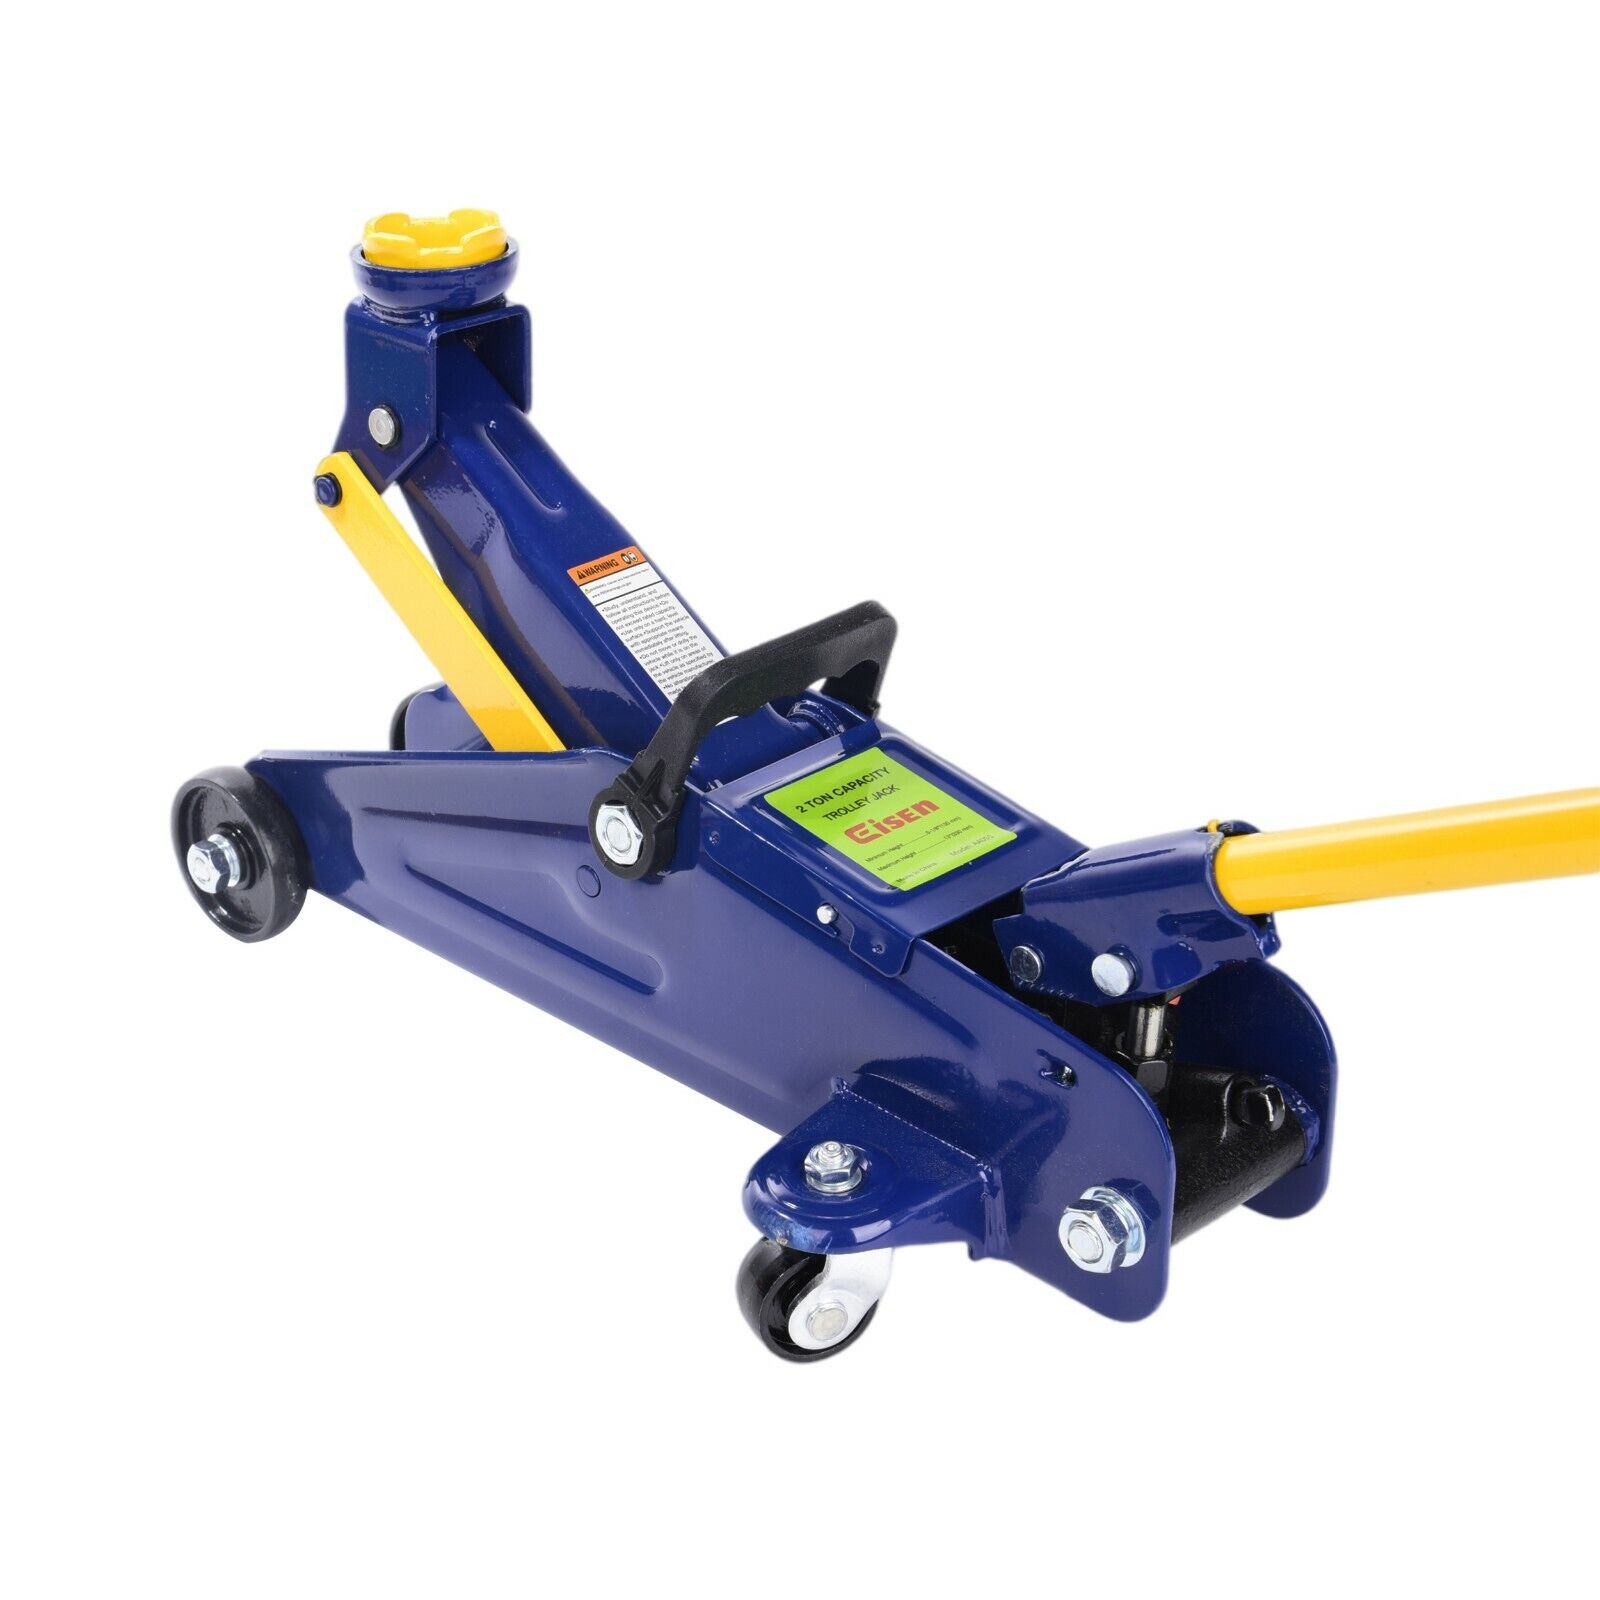
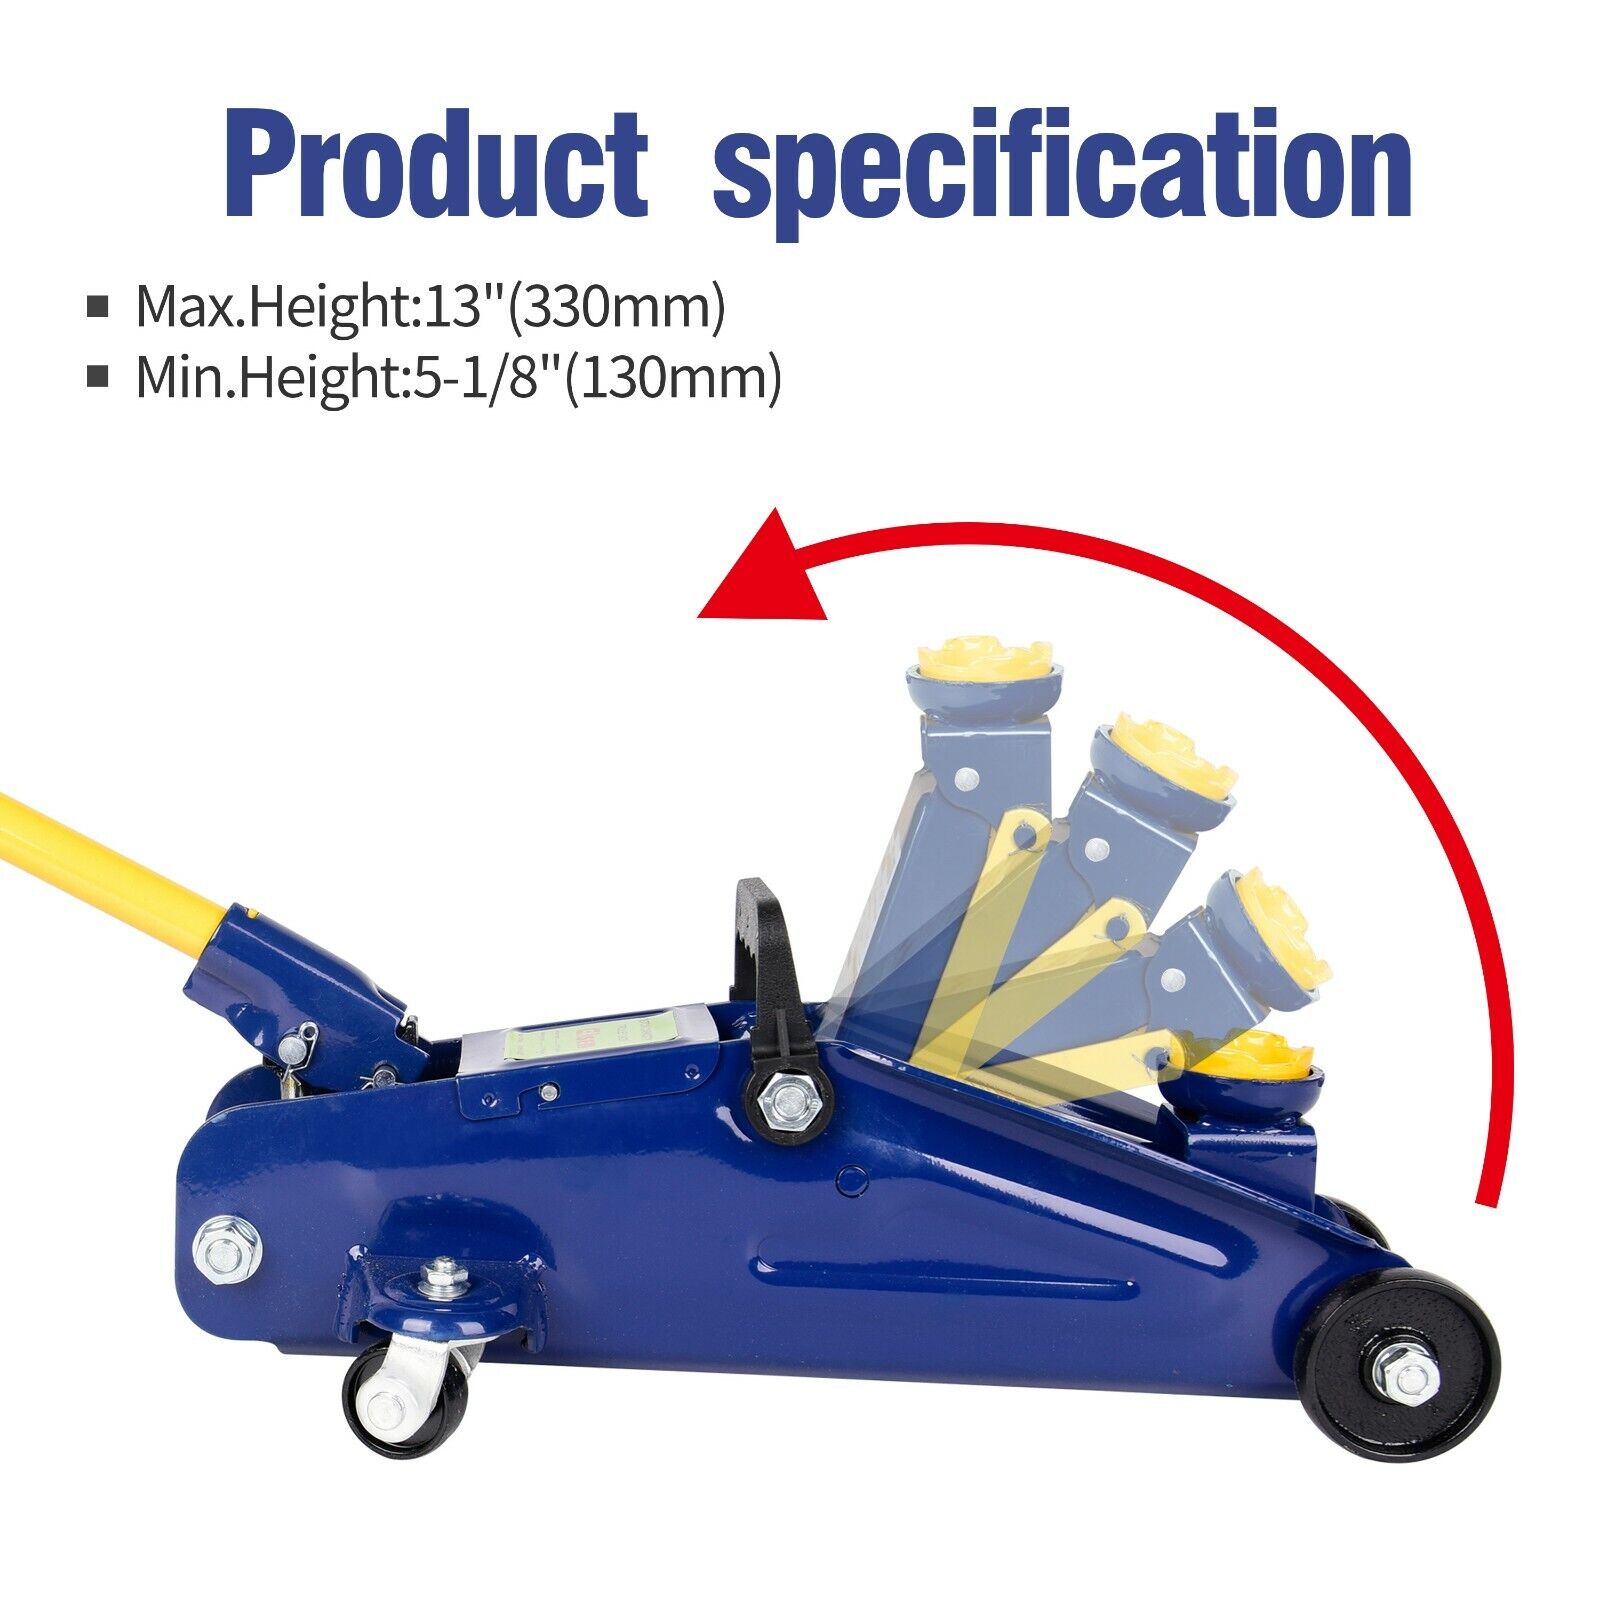
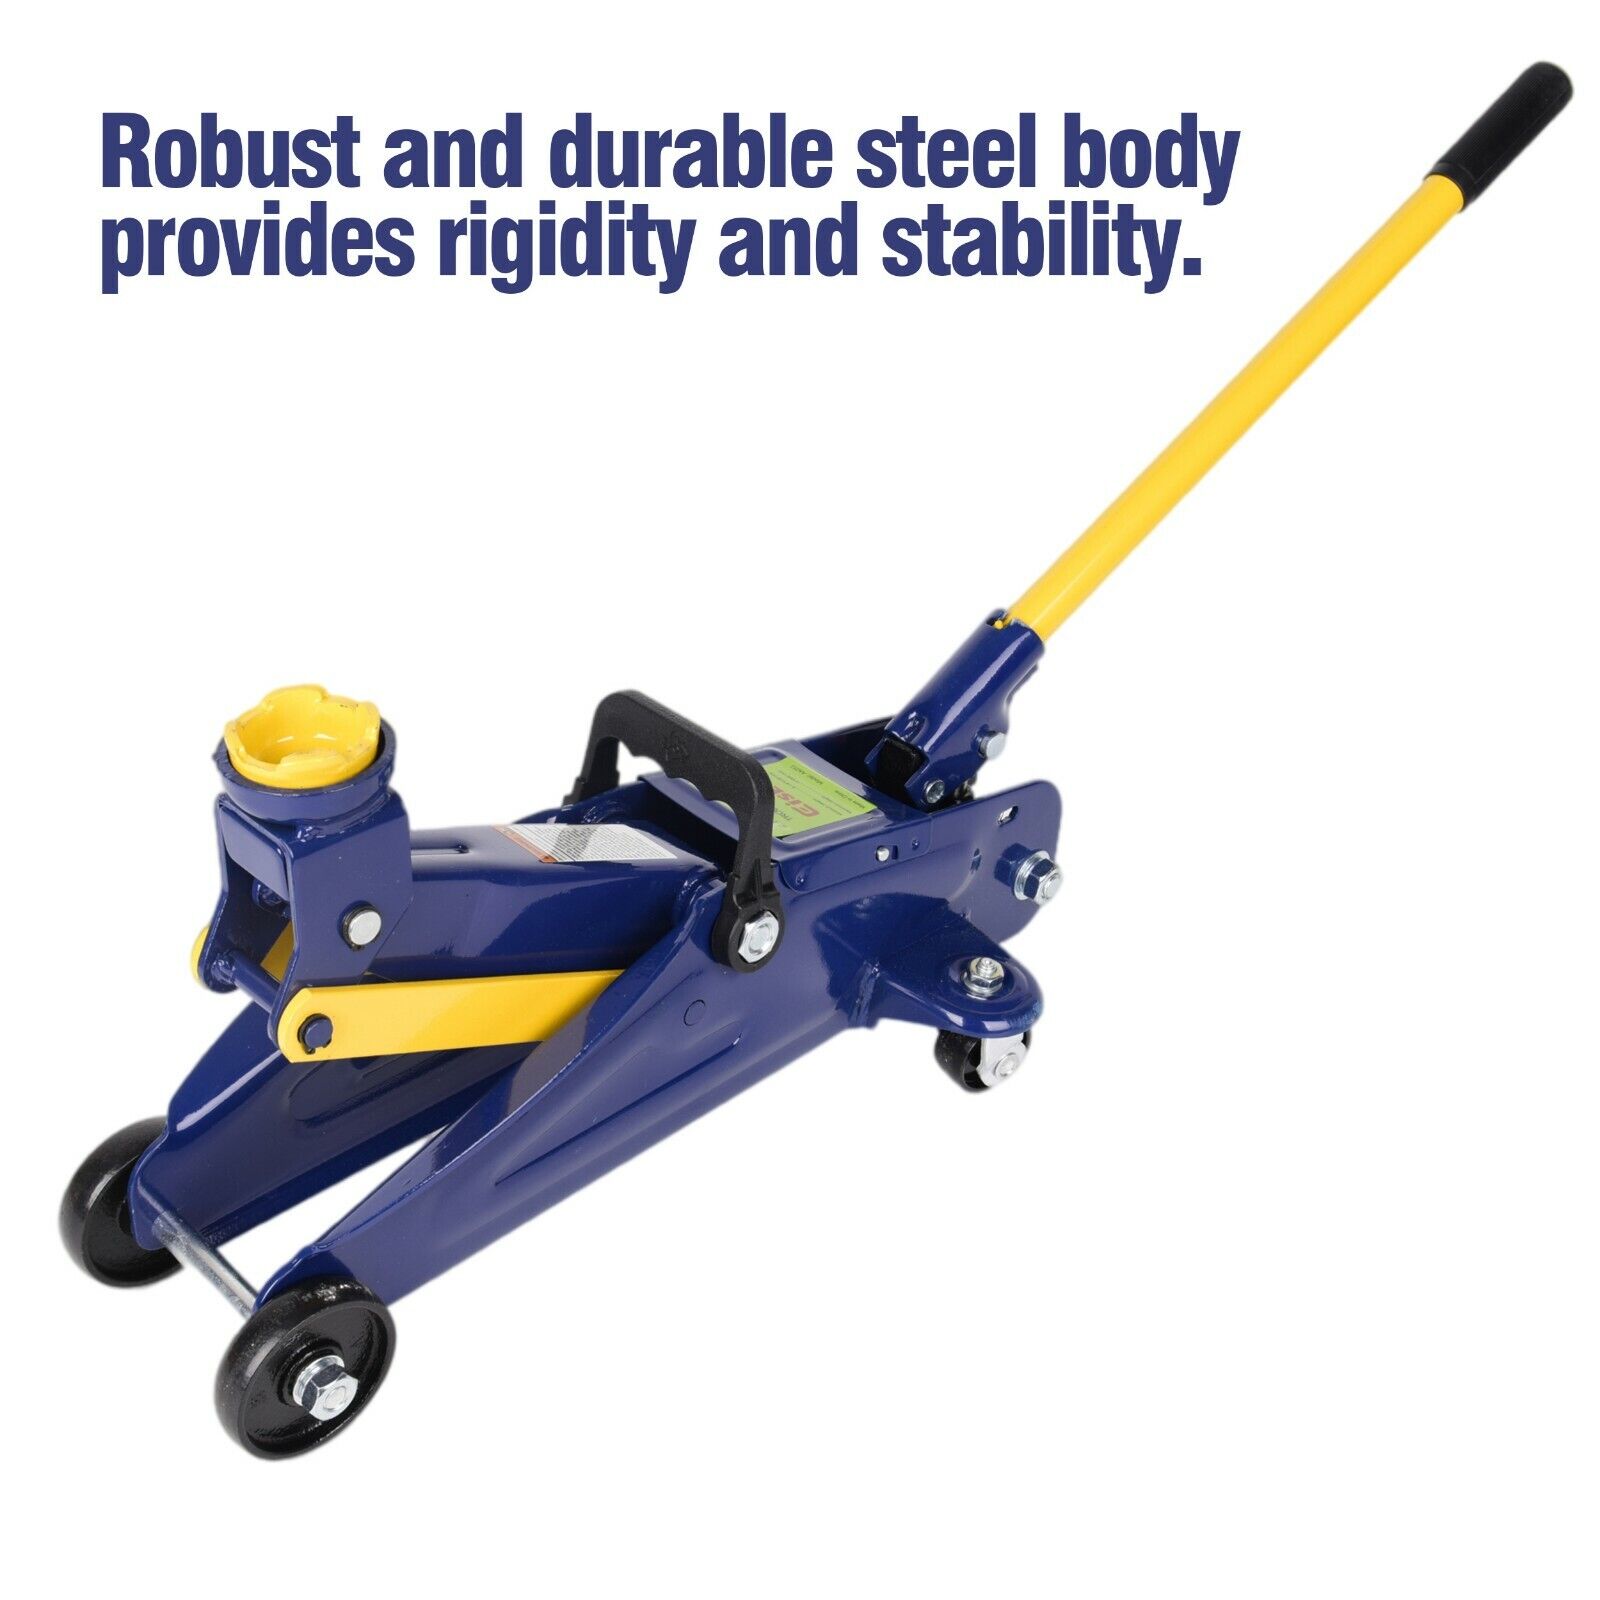
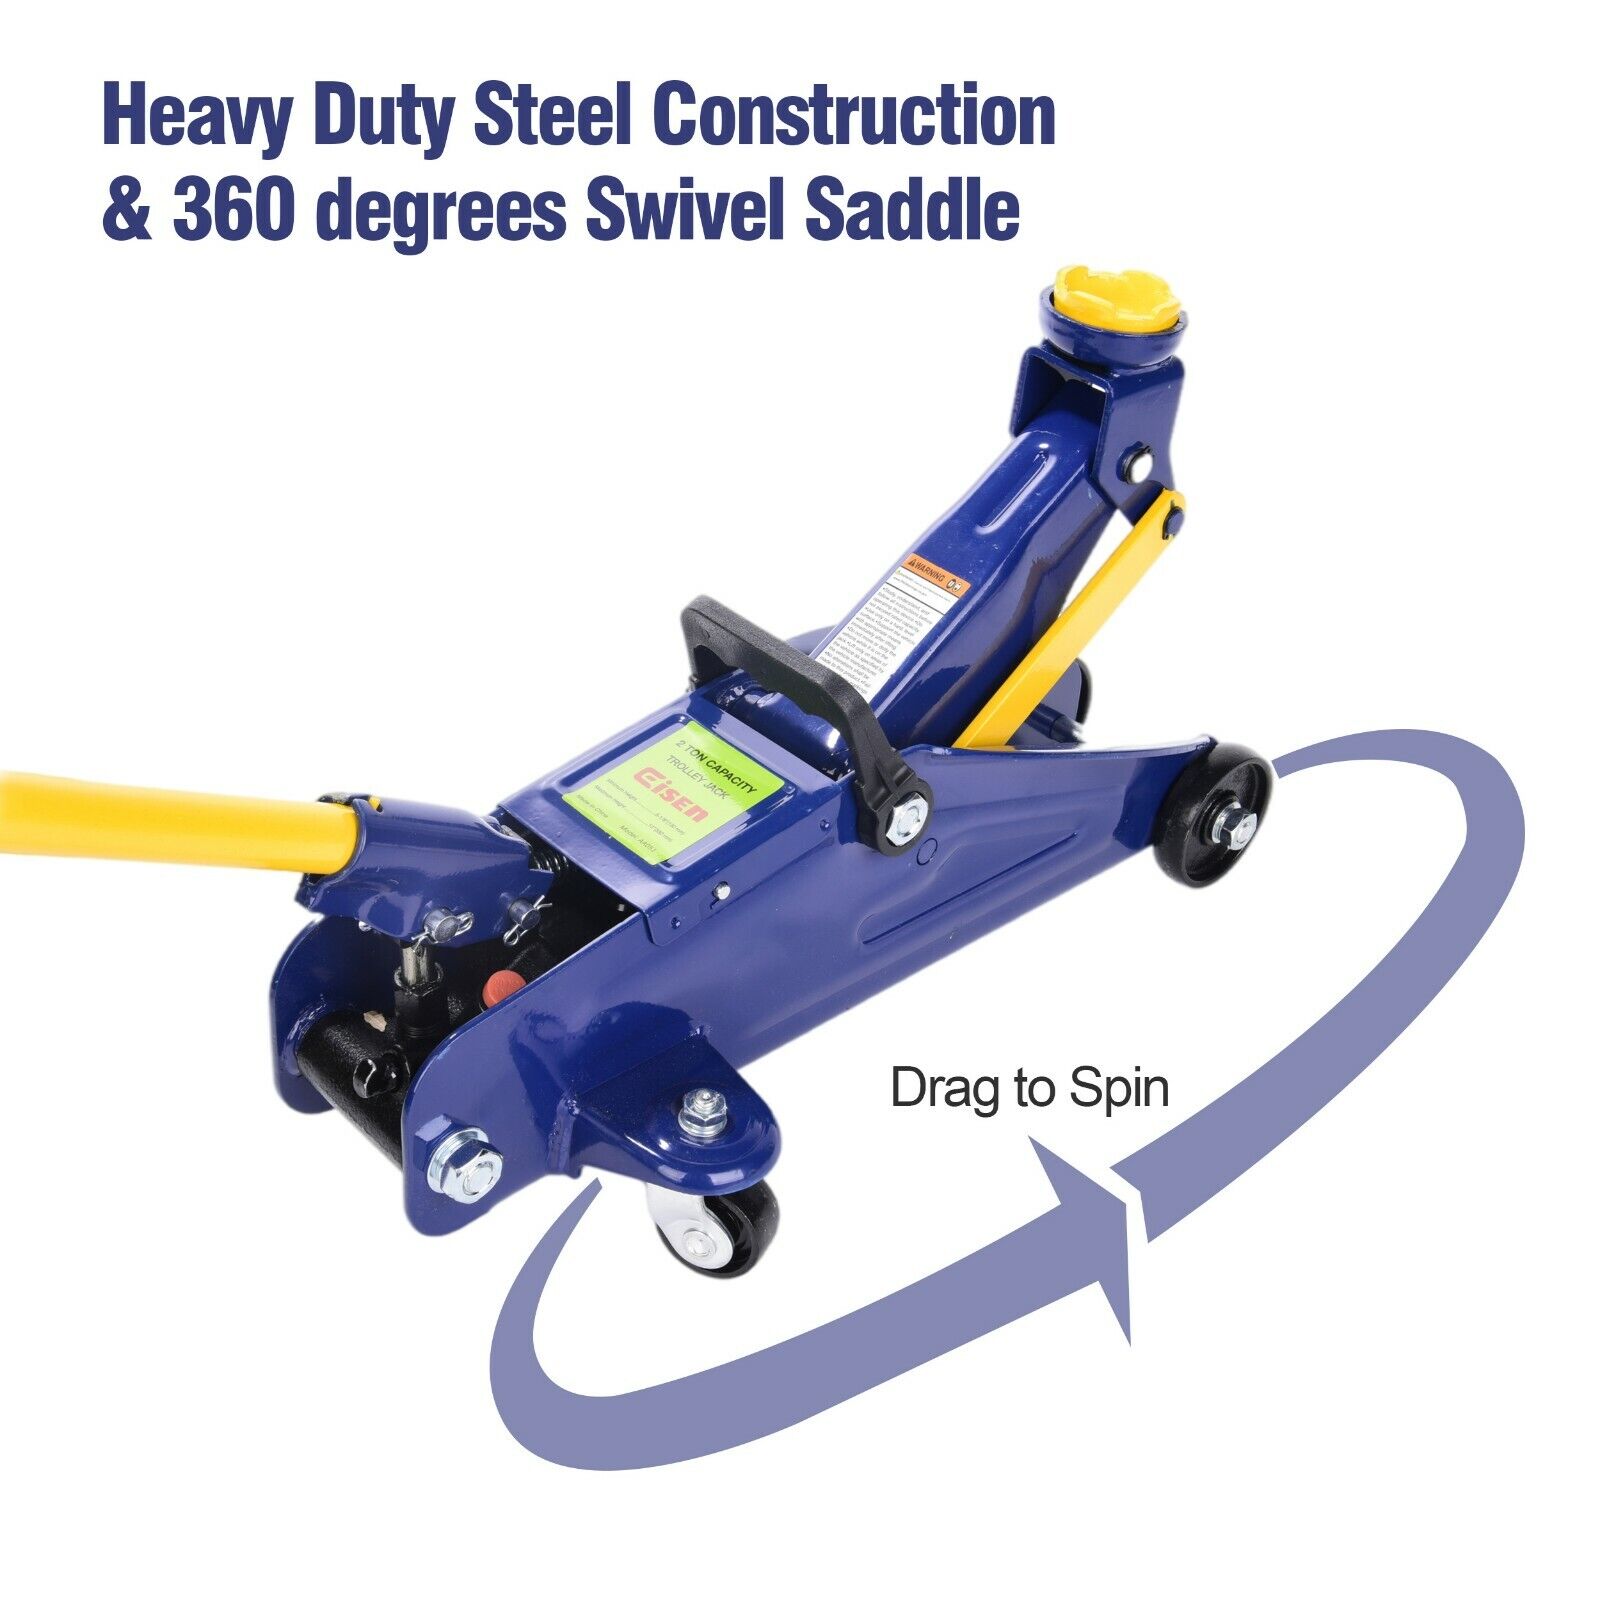
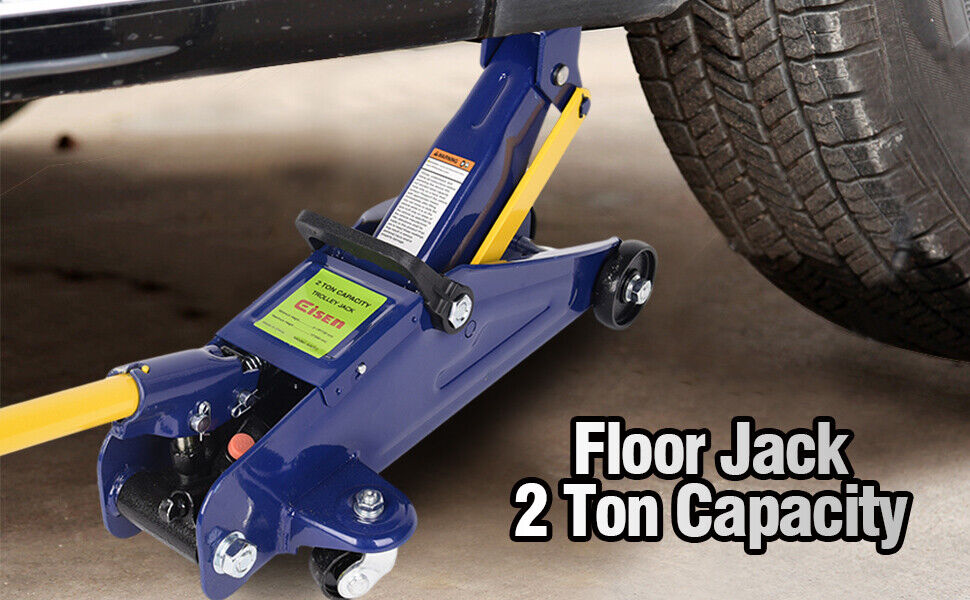
2 Ton Hydraulic Trolley Low-Profile Floor Jack Workshop Garage Lifting Lift Tool
$ 47.51
- Description
- Size Guide
Description
Eisen 2 Ton Portable Floor Jack Vehicle Car Garage Auto Small Hydraulic LiftPRODUCT DESCRIPTION
About this item
Contents:
1.Specifica ons
2. Safety & Warning Informa on
3. &
4. Setup, Opera on & Preven ve Maintenance
5. Inspec on, Storage &Troubleshoo ng
6. Exploded View & Replaceable Part Numbers
7. Warranty Informa on 8.Preven ve Maintenance Record Log
IMPORTANT: READ ALL INSTRUCTIONS BEFORE USE
Before operating this device, be sure to read all content within this manual, ensuring that you
understand the operating procedures, maintenance requirements and all safety warnings.
The owner and/or operator shall have an understanding of the product, its operating
characteristics, and safety operating instructions before operating this device. Safety
information shall be emphasized and understood. If the operator is not fluent in English, the
product and safety instructions shall be read to and discussed with the operator in the
operator’s native language by the purchaser/owner or his designee, making sure that the
operator comprehends their contents
Actions to help prevent dangerous situations
• Study, understand, and follow all instructions before operating this device.
• Do not exceed rated capacity.
• Use only on hard, level surface capable of supporting the load.
• Center load on saddle prior to lifting.
• Support the vehicle with appropriate means immediately after lifting.
• Do not move or dolly the vehicle while on the jack.
• Lift only on areas of the vehicle as specified by the vehicle manufacturer.
• No alterations shall be made to this product.
• Only attachments and/or adapters supplied by the manufacturer shall be used.
• Failure to heed these markings may result in personal injury and/or property damage.
Setup
•
Prior to each use, visual inspection shall be made to the device by checking
for abnormal conditions, such as cracked welds, leaks, and damaged, loose, or missing
parts.
•
Consult the vehicle owner’s manual to determine the location of lift points.
•
Be sure to set the vehicle in park with the emergency brake on and wheels securely
chocked.
•
Be sure that the vehicle and the jack are on a hard, level surface.
Assembly
•
If two piece handles are provided, assemble the upper section into the lower section,
line up the holes, insert and tighten the screw.
•
Insert the bottom end of handle into handle fork and securely tighten the bolt and
washer. Ensure the handle can turn freely.
Lifting
•
Turn the handle/release valve clockwise to the closed position. Do not over tighten.
•
Position the jack under the specified lift point.
•
Begin lifting by pumping the handle up and down.
•
Immediately after lifting, support the vehicle with appropriately rated jack stands.
•
Turn the handle/release valve slowly counterclockwise to lower the vehicle onto jack
stands.
Lowering
•
Turn the handle/release valve clockwise to the closed position. Do not over tighten.
•
Pump the handle up and down to lift vehicle off jack stands.
•
Remove the jack stands. Do not get under or let anyone get under the vehicle while
lowering.
•
Turn the handle/release valve slowly counterclockwise to lower the vehicle onto the
ground
.
Maintenance
NOTICE:
Use high grade hydraulic oil only. Never use brake fluid, motor oil, transmission fluid,
turbine oil or any other fluids. ISO-VG22 or equivalent hydraulic oil is recommended.
Check and Refill Oil
•
With the jack in the fully lowered, level position, if unit cover is provided, remove unit
cover, then remove oil filler plug.
•
Proper oil level should be just covering inner cylinder as seen from the oil filler plug hole.
•
Do not overfill. Always fill with new, clean hydraulic jack oil as recommended above.
•
Reinstall oil filler plug, then reinstall unit cover.
Lubrication and Cleaning
•
Periodically clean and lubricate all moving parts and pivot points.
Air Venting Procedures
•
With the jack in the fully lowered position, release valve open, remove oil filler plug.
•
Pump the handle rapidly several times. Reinstall oil filler plug.
•
Turn the handle/release valve clockwise to the closed position.
•
Pump the handle until the lift arm reaches maximum height and continue to pump
several times to remove trapped air in the system.
•
Turn the handle/release valve counterclockwise in one full turn and lower lift arm to the
lowest position. Use force on saddle if necessary.
•
Carefully and slowly loosen oil filler plug to release pressurized air.
•
Repeat above steps until trapped air is completely vented.
Damaged Equipment
Any jack that appears to be damaged in any way, is found to be worn, or operates abnormally
SHALL BE REMOVED FROM SERVICE UNTIL REPAIRED
. It is recommended that necessary
repairs be made by a manufacturer’s or supplier’s authorized repair facility if repairs are
permitted by the manufacturer or supplier.
Alterations
Because of potential hazards associated with this type of equipment, no alterations shall be
made to the product.
Attachments and Adapters
Only attachments and/or adapters supplied by the manufacturer shall be used.
Inspection
•
Visual inspection shall be made before each use of the device by checking for abnormal
conditions, such as cracked welds, leaks, and damaged, loose, or missing parts.
•
Other inspections shall be made per product operating instructions.
•
This device shall be inspected immediately if the device is believed to have been
subjected to an abnormal load or shock. It is recommended that this inspection be made
by a manufacturer’s or supplier’s authorized repair facility.
•
Owners and/or operators should be aware that repair of this equipment may require
specialized knowledge and facilities. It is recommended that an annual inspection of the
product be made by a manufacturer’s or supplier’s authorized repair facility and that
any defective parts, decals, or safety labels or signs be replaced with manufacturer’s or
supplier’s specified parts.
Storage
This Jack should be stored in a dry location on a level surface.
---------------------
SHIPPING TERMS
All items will be shipped to buyer's eBay address. Before you pay, please make sure your address in eBay matches the address you would like us to ship to.
All items to domestic will be shipped with tracking information
within 1-2 working days(except weekend and holiday) upon receipt of payment.
In most cases,
shipping to domestic takes 3-7 business days
. We try our best to provide you the most reliable, affordable way of shipping service.
But sometimes delivery is highly depended on the local customs and post service. If you do not receive your item on time, please contact us immediately for further assistance.
We will be responsible for any damages or losses incurred in the shipping process.
There is no local pickup service, no third party shipping carrier will be used.
listings with shipping and handling charge: the charge covers mailing, packing, warehouse and distribution costs, not postage only.
--------------------------
RETURN
If any item is defective upon receipt, please contact us for the return address, return is accepted within 30 days after the buyer receiving the item. Returned item has to be in its original condition. After receiving the return we will make a replacement depends on our available stock, if not available, a refund will be issued.
--------------------------
CONTACT US
We care about our valued buyers, if you have any questions, our Customer Service staffs will be very glad to help you. We try our best to reply to your emails as soon as possible, however, due to high volume of daily incoming emails and time zone difference, we may not be able to reply your emails immediately. Please allow 24 business hours for us to response.
About item:For the functional products in our shop, we make sure that the functions are the same as description, but the actual color and shape may looks a little different from pictures because of the technical improvement and manufacturing variance. Please be advised before you bid.
.


